Top Electric Bike Conversion Kit Tips for Easy Upgrades?
Upgrading your bicycle can be an exciting journey. An Electric Bike Conversion Kit makes this process easier and more affordable. With the rise of eco-friendly transportation, many cyclists are exploring how to transform their regular bikes into electric powerhouses.
These kits are designed to enhance your riding experience. They provide extra speed and ease, making your commute smoother. However, not all kits are created equal. Factors like compatibility and quality matter greatly. Research is essential before making a purchase. It’s common to feel overwhelmed by the options available.
Common issues arise during installation. Misalignment or technical glitches can dampen your enthusiasm. It’s vital to follow instructions closely and seek help if needed. Your experience doesn’t have to be perfect for you to enjoy riding an electric bike. Each step you take contributes to your growth as an informed cyclist. With the right guidance and a reliable Electric Bike Conversion Kit, you can enjoy a thrilling upgrade.
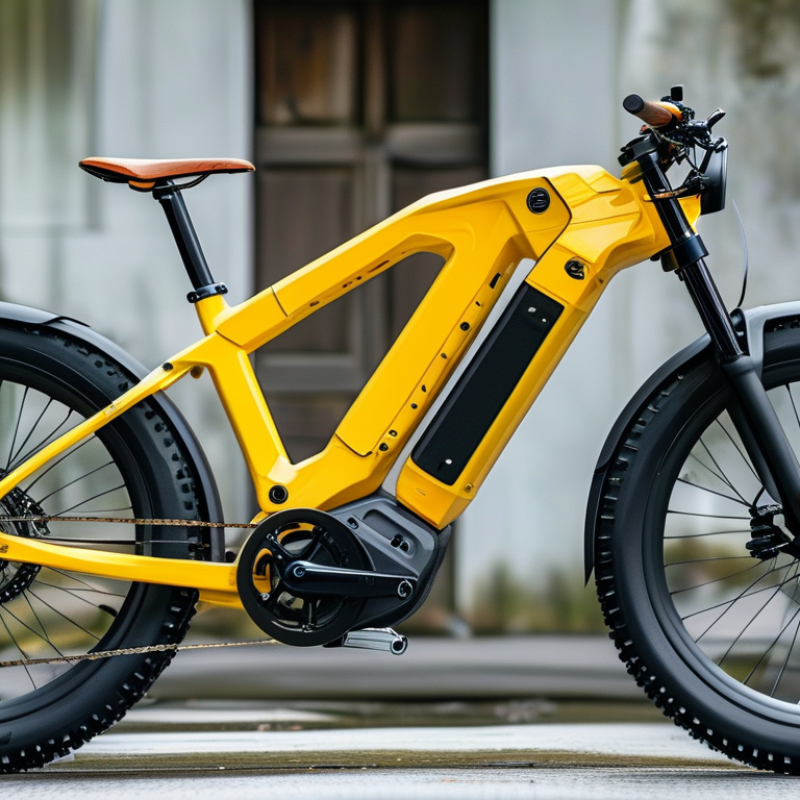
Choosing the Right Electric Bike Conversion Kit for Your Needs
Choosing an electric bike conversion kit can be overwhelming. Start by identifying your riding habits. Do you need speed or better climbing ability? Assess the terrain you plan to ride on. This will guide you in selecting the right motor power and battery capacity.
Look into the installation process. Some kits are easier to install than others. If you're not experienced with tools, consider a user-friendly option. Research common challenges others faced. Sometimes, kits don’t fit perfectly with all bike models. Make sure to check compatibility with your current setup.
Lastly, trust reviews from real users. They often share insights on performance and durability. Pay attention to comments about customer support. A reliable kit can make your transition smooth. Be prepared for adjustments after installation; it’s normal. The journey to an upgraded bike can be as important as the upgrade itself.
Essential Tools Needed for Electric Bike Conversion
When you're planning an electric bike conversion, having the right tools is crucial. A basic toolkit should include a good set of wrenches, screwdrivers, and pliers. These will help you dismantle and reassemble various bike components easily. A tire lever is essential for changing tires without damaging the rim. Additionally, a torque wrench ensures that bolts are tightened to the right specifications. This prevents potential failures while riding.
Keep a wire stripper handy. It’s used for preparing electrical connections. You'll also need electrical tape to secure connections and prevent short circuits. A multimeter is invaluable for testing voltage and troubleshooting issues. Make sure to have a good quality battery charger that matches your battery type. Safety is key; always wear gloves while working.
Reflect on your fitting process as it may reveal gaps in knowledge or skills you need to improve. Getting comfortable with these tools will make your conversion smoother.
Step-by-Step Guide to Installing Your Electric Bike Conversion Kit
Installing an electric bike conversion kit can be a rewarding project. With the right approach, it becomes manageable. Begin by selecting the right kit for your bike. Check compatibility with your bike frame and wheel size. Measure accurately to avoid future issues.
Next, gather essential tools. You will need a torque wrench, screwdrivers, and a multi-tool. These tools will help with the installation. Carefully follow the provided instructions. Take your time with each step. Skipping details may lead to problems later on.
Once installed, test your bike thoroughly. Check the wiring connections and make sure everything is secure. A few adjustments may be necessary after your first ride. Consider the placement of the battery for optimal weight distribution. Your bike's handling might change. Embrace these challenges as part of the learning process. Remember, each step offers a chance to improve your skills.
Electric Bike Conversion Kit Popularity by Features
Common Mistakes to Avoid During the Conversion Process
Upgrading a bicycle to an electric bike can be exciting. However, many face challenges during the conversion. One common mistake is neglecting to choose the right motor size. Reports show that a 750W motor provides a good balance of power without being overwhelming. Choosing too powerful a motor can lead to control issues. Riders need to consider their local terrain and intended use when selecting motor specifications.
Another frequent error involves battery compatibility. A study published in the Journal of Electric Mobility highlights that roughly 30% of DIY converters overlook battery voltage alignment. Using mismatched voltage can cause performance inconsistencies and shorten battery life. It's crucial that the battery matches the motor’s requirements to ensure maximum efficiency and reliability.
Lastly, people often underestimate weight distribution. An electric bike should maintain a balanced center of gravity for stability. Reports indicate that improperly mounted components can lead to handling problems. Riders should pay attention to where the battery and motor are placed. A well-placed battery directly impacts the overall ride quality and comfort. A thorough understanding of these factors can greatly enhance the conversion process.
Tips for Maintaining Your Converted Electric Bike for Longevity
Maintaining your converted electric bike is crucial for its longevity. Regular checks can prevent small issues from becoming major problems. Pay attention to the battery. Ensure it is charged properly and stored at the right temperature. A well-maintained battery extends its lifespan and improves performance.
Tires are often overlooked but play a significant role. Keep them inflated to the recommended pressure. Inspect for wear and tear regularly. Replace tires that show signs of damage. Don't forget the brakes. Squeaky brakes may indicate they need adjustment or replacement.
Cleaning your bike also matters. Wipe down the frame and components to remove dirt, reducing wear. Remember to check electrical connections frequently. Loose wires or corroded connectors can lead to performance issues. Maintenance might take time, but it's essential for a smooth ride.
Top Electric Bike Conversion Kit Tips for Easy Upgrades
| Tip |
Description |
Maintenance Frequency |
Expected Lifespan |
| Battery Care |
Charge the battery fully before storing and avoid deep discharges. |
Every month |
3-5 years |
| Tire Maintenance |
Check tire pressure regularly and inspect for wear and tear. |
Every week |
1-3 years |
| Brake Inspection |
Test brakes for responsiveness and check brake pads for thinning. |
Bi-monthly |
1-2 years |
| Chain Lubrication |
Apply lubricant to the chain to ensure smooth operation. |
Every month |
2-5 years |
| Electrical Connection Checks |
Inspect wiring and connections for wear and corrosion. |
Every 6 months |
Indefinite with maintenance |